

How to Change Display Settings on a Chromebook

Nov 03, 2022
 68
68
- The first thing you will need to do once you have logged in to the chromebook, is open up the settings window.
- To do this you will need to click on the clock in the bottom right-hand corner of the screen.
- That will pop up a little window where at the top of that you need to click on the "Gear Icon".
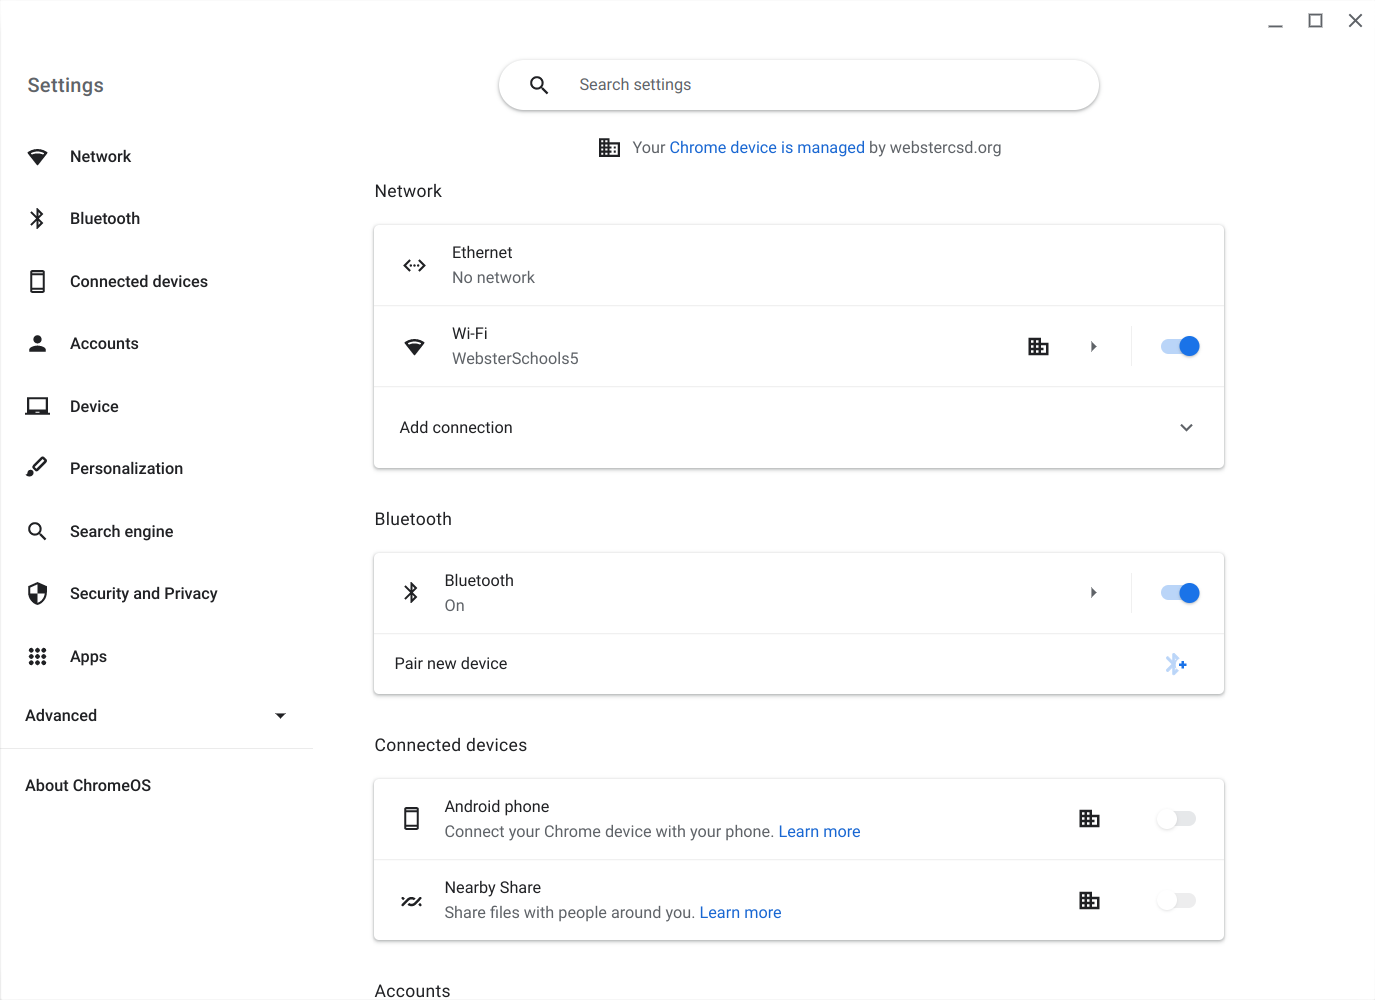
- Once you are in the settings on the Chromebook. You will then need to use the top search bar in the settings window to search for "Display".
- Once you find that section in settings click on it and it will take you to a window where you will see all the screens the chromebook is connected to.
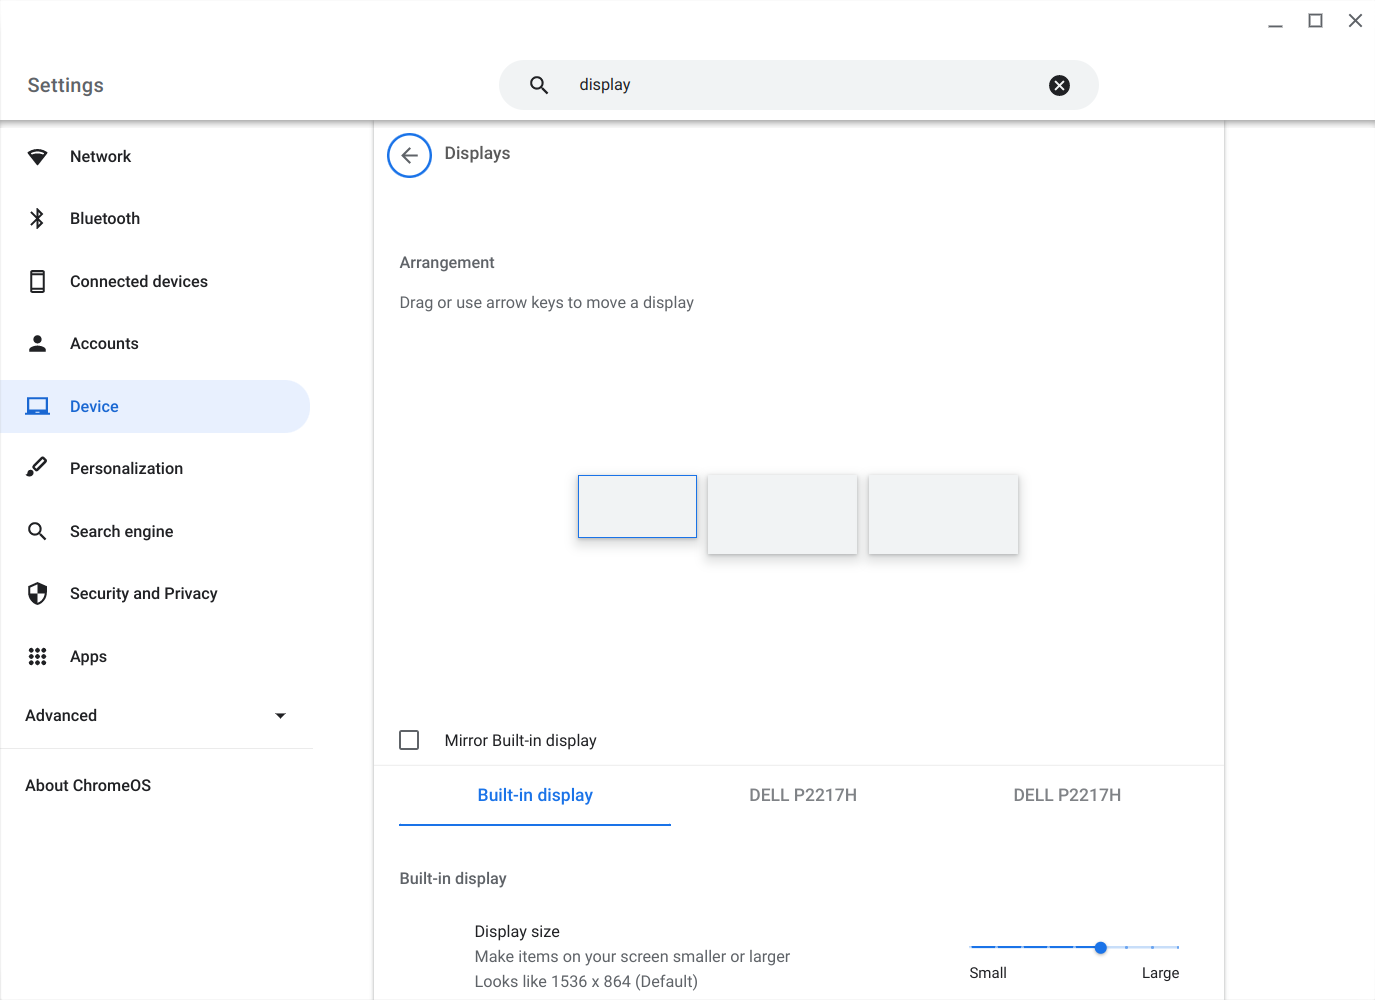
- Once you see that screen you have the ability to move the screens around (by dragging) to better fit how you want to use them.
- You can also adjust display size here if you need to.
- It is recommended that you use the "Mirror" option when Chromebooks are docked in classrooms. It just helps limit the number of confusion with the multiple displays.
- To use the "Mirror" option you will just need to check the box "Mirror Built-in display", right below where you see the image of the screens.
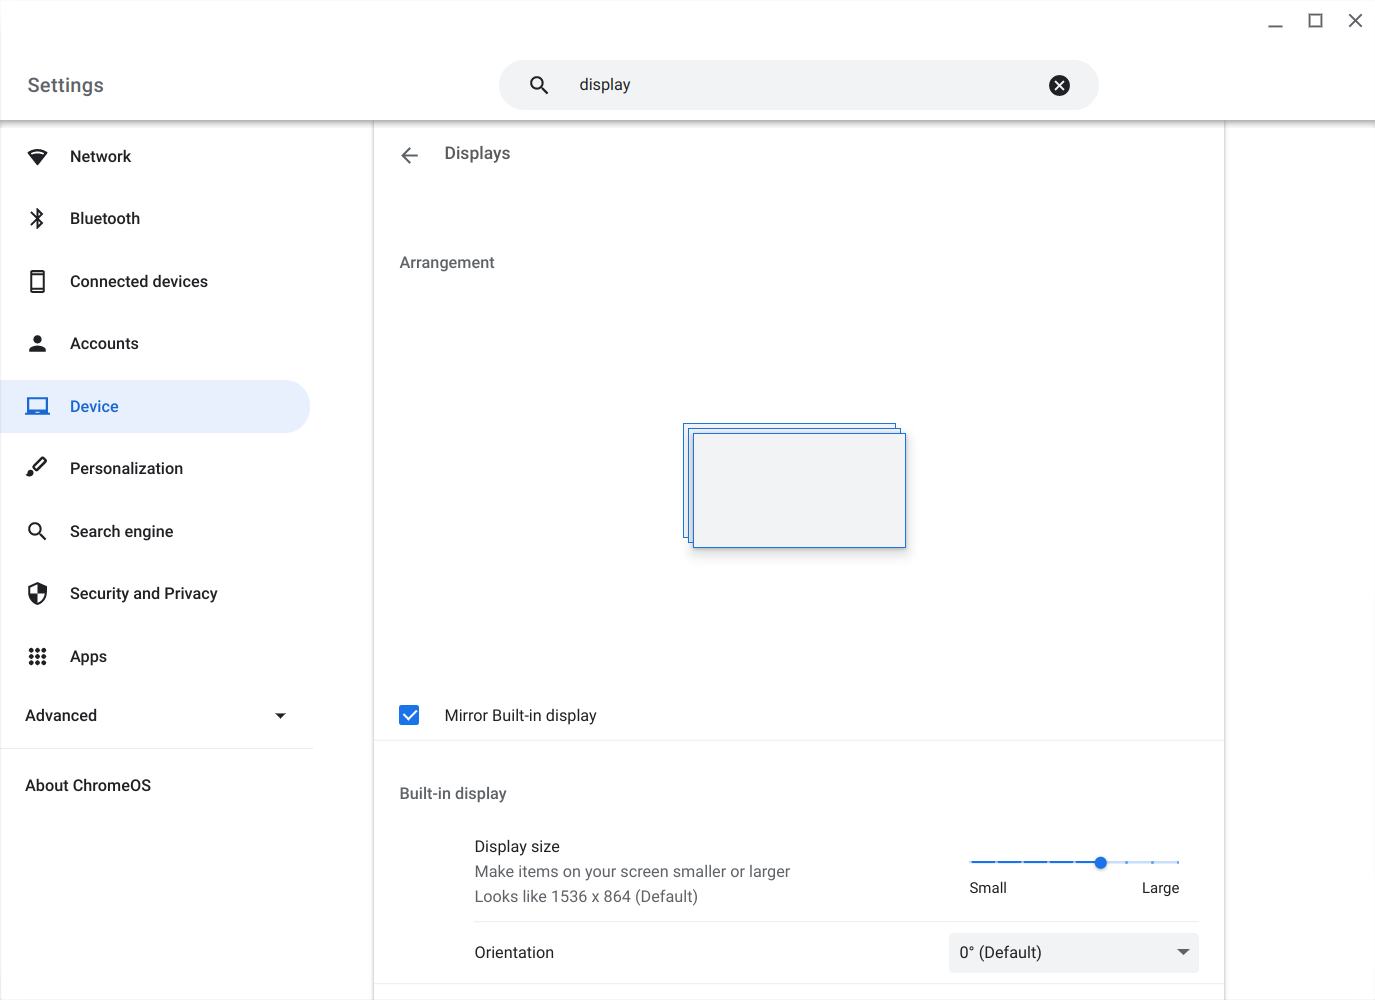
- Once you check that box you will see that the picture of the three screens all spread out has become a picture of the screens piled together. After that you can close the settings window and you should be all set.
- If you have any questions or would like more information please feel free to send an email to [email protected] or call the service desk at 265-6400.

